You can create new user accounts in the section “Users & Licenses”, which you can access from the left navigation panel.
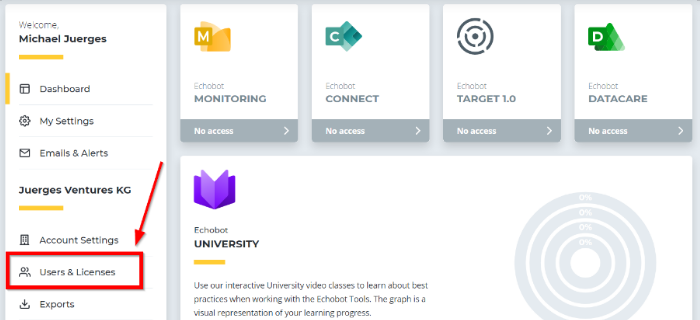
Please note that this section is only accessible for users with admin status.
Manual entry of new users
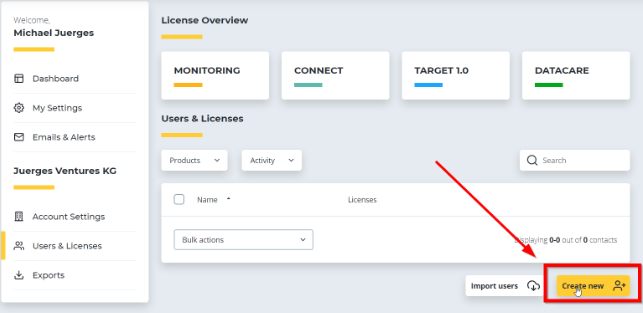
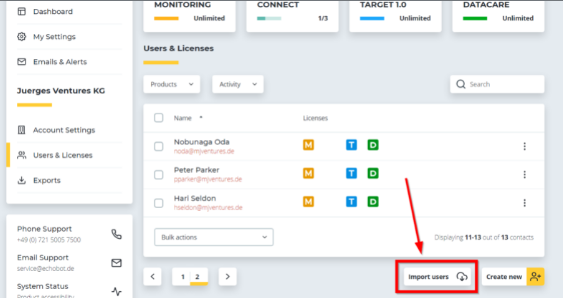
New users can be added with the button “Create new” at the bottom right corner of the screen.
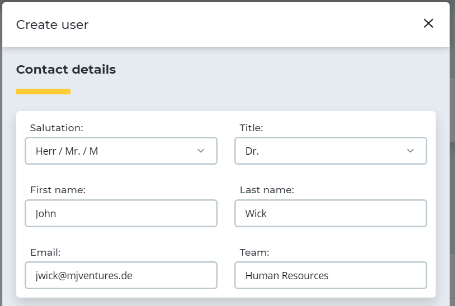
Clicking the button will open the form “Create user”. Enter the personal information, contact details and department of the user you would like to add.
Scroll down to “Manage product access” and select the Echobot products that you want the user to access.
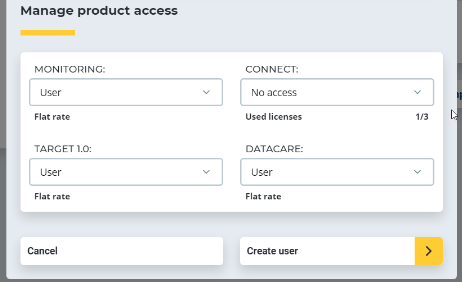
Specify the user roles for each of the Echobot products and click on “Create user” to finalize the creation of the user account.
Creating several user accounts at the same time
If you are managing larger teams, we recommend using the import function to create several user accounts at once. Navigate to “Users & Licenses”, then click on the button “Import users” at the bottom right of the screen.
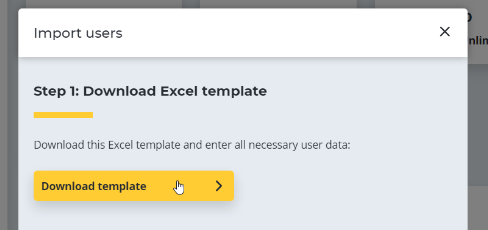
Click on the button “Download template” to download an Excel template for the user import.
Save the Excel file on your computer and open it with your Excel software.
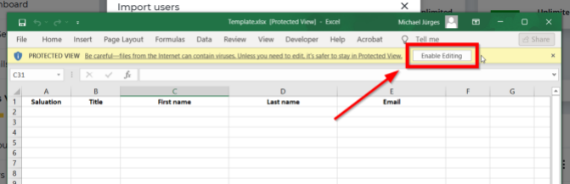
If you are using Microsoft Excel, you first have to enable editing. You can do so by clicking the “Enable Editing” button at the top right of the Excel window.
You can now start adding the data of your employees.
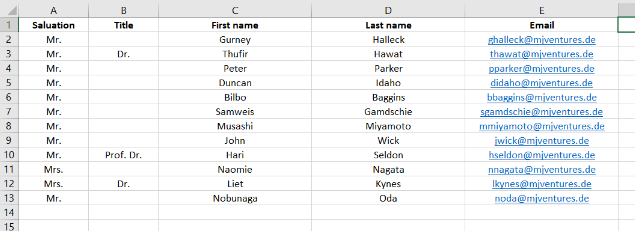
Save the template file as a separate via “File > Save As” (in Microsoft Excel).
On the “Import users” Echobot page, click on “Next step” at the bottom right.

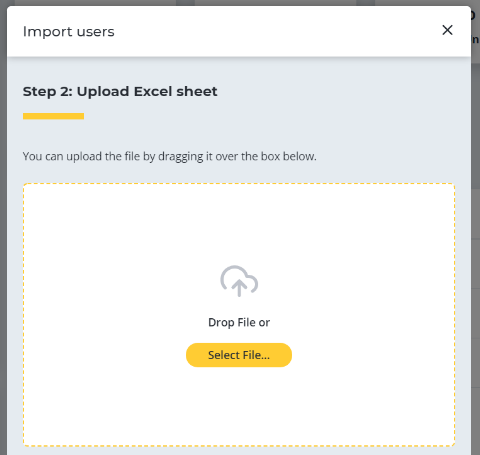
Select the previously saved Excel file with your team data and upload it in “Step 2: Upload Excel sheet”.
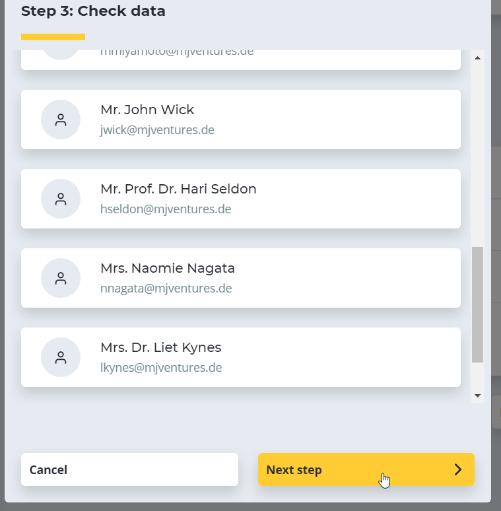
Doublecheck in ”Step 3: Check data” whether or not your data has been copied correctly. Are the email addresses correct? Did you enter all members of the team? Cancel, make changes in the Excel sheet and re-upload, if necessary.
Once you have verified the data, click on “Next step” at the bottom right to import the new users.
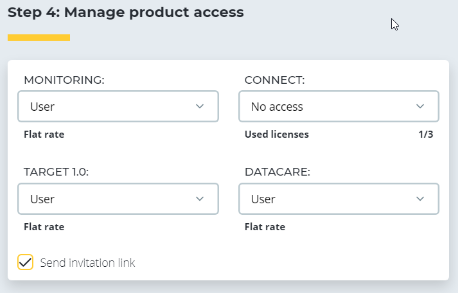
In “Step 4: Manage product access”, you can now specify access rights for the imported users. Check the option “Send invitation link” at the lower left to send an email to all imported users.
Please note: The selected access roles (“No access” / “E-Mail recipient” / “User” / “Administrator”) will be applied to all imported users. If you want to remove or grant access rights to specific users for specific Echobot products, you will need to do this later and separately for each user.
Click the “Confirm” button at the lower right to finalize the user import process.

Congratulations! The new users are now in your system.
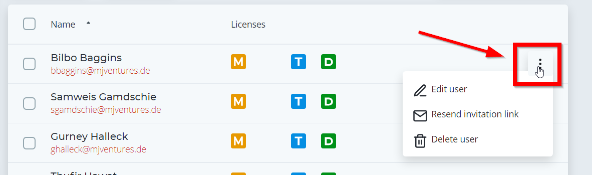
You can now make further changes to each individual user by clicking on the three dots to the right of the user name and selecting “Edit user” from the menu.